
sm 기술 블로그
[스프링 부트] 리액트와 스프링부트 연결 본문
Back-End (SpringBoot - JPA(with.IntelliJ))
1.SpringBoot Initializr
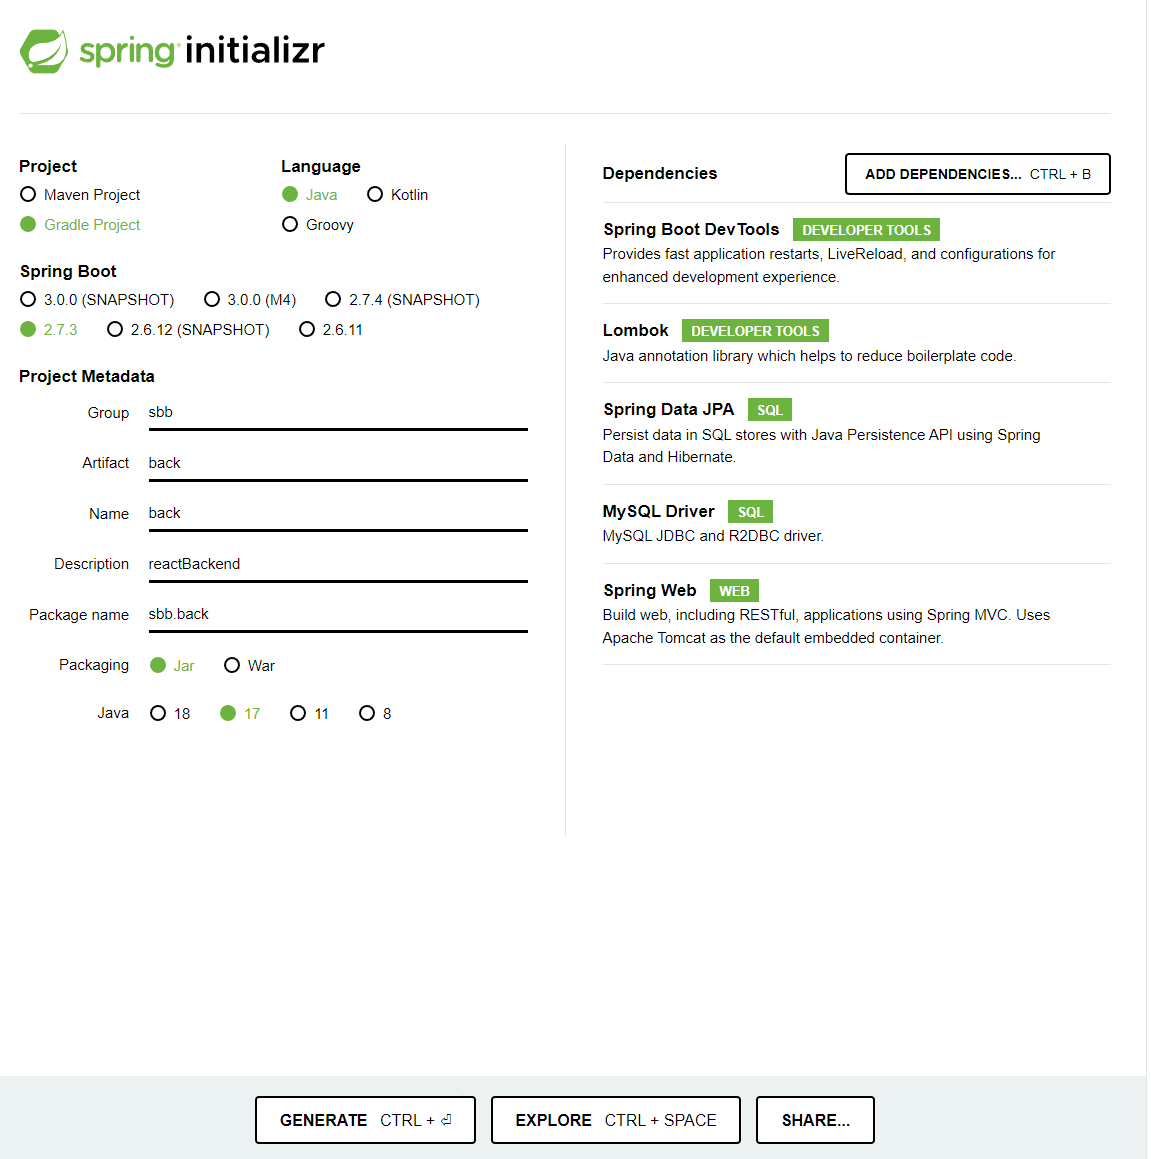
다음과 같이 작성하고 Generate를 통해 다운받아준다.
2. aplication.properties 수정
먼저 properties를 yml로 수정해주자
server:
  port: 8087

spring:
  devtools:
    livereload:
      enabled: true
  freemarker:
    cache: false
  datasource:
    driver-class-name: com.mysql.cj.jdbc.Driver
    url: jdbc:mysql://localhost:3306/데이터베이스이름?useUnicode=true&characterEncoding=utf8&autoReconnect=true&serverTimezone=Asia/Seoul&useOldAliasMetadataBehavior=true&zeroDateTimeNehavior=convertToNull
    username: 서버 이름
    password: 서버 비밀번호
  jpa:
    properties:
      hibernate:
        show_sql: true
        format_sql: true
        use_sql_comments: true

  logging:
    level:
      org:
        hibernate:
          type:
            descriptor:
              sql: trace
yml로 수정했으면 다음 내용을 입력해주자.
3. Controller 작성
package sbb.back.controller;

import org.springframework.stereotype.Controller;
import org.springframework.web.bind.annotation.RequestMapping;
import org.springframework.web.bind.annotation.ResponseBody;

import java.util.Arrays;
import java.util.List;

@Controller
public class TestController {

    @RequestMapping("/test")
    @ResponseBody
    public List<String> test(){
        return Arrays.asList("2시:점심식사","5시:저녁식사","??");
    }
}
testController라는 컨트롤러를 생성하자.
4. DataBase 작성
이제 스프링부트를 실행 시킬 것이다.
그 전에 DataBase이 필요하다.
일단 우리는 연결되는 것만 확인할 것이고 테이블을 직접 사용하지는 않을 것이기 때문에 yml에서 작성한 DataBase 이름으로 하나 생성해준다.
DROP DATABASE IF EXISTS react;
CREATE DATABASE react;
USE react;
Back 설정은 끝났다.
Front-End (React)
1. React 생성
npx 명령어를 사용하기 위해서는 node.js 가 필요하다.
Node.js
Node.js® is a JavaScript runtime built on Chrome's V8 JavaScript engine.
nodejs.org
npx create-react-app 앱이름디렉터리 에서 cmd를 실행시켜 다음과 같이 작성해 준다.
그러면
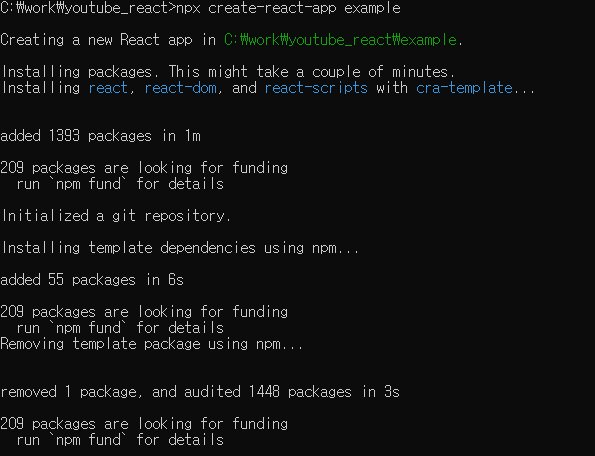
다음과 같이 폴더 내에

파일들을 생성할 것이다.
이러면 리액트 생성은 성공이다.
2. SpringBoot Port Connection
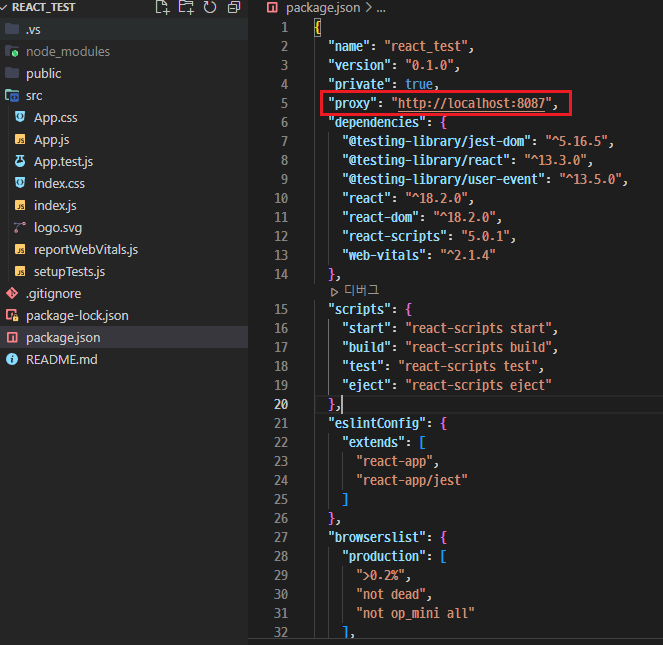
{

...

"proxy": "http://localhost:설정한 포트 번호",

...

}
package.json에 BackEnd의 주소를 다음과 같이 추가시켜준다.
3. App.js 수정
// App.js
import logo from './logo.svg';
import './App.css';
import {useEffect,useState} from "react";

function App() {
  const [message, setMessage] = useState([]);

  useEffect(() => {
    fetch("/test")
    .then((response) => {
      return response.json();
    })
    .then(function (data){
        setMessage(data);
    });
  }, []);

  return (
    <div className="App">
      <header className="App-header">
        <img src={logo} className="App-logo" alt="logo" />
        <p>
          Edit <code>src/App.js</code> and save to reload.
        </p>
        <a
          className="App-link"
          href="https://reactjs.org"
          target="_blank"
          rel="noopener noreferrer"
        >
          Learn React
        </a>
        <ul>
          {message.map((text, index) => <li key={index}>{text}</li>)}
        </ul>
      </header>
    </div>
  );
}
export default App;
useState를 []로 설정해준다.
그 이유는
return Arrays.asList("2시:점심식사","5시:저녁식사","??");스프링에서 다음과 같이 리스트 형태로 값을 받을 것이기 때문이다.
  useEffect(() => {
    fetch("/test")
    .then((response) => {
      return response.json();
    })
    .then(function (data){
        setMessage(data);
    });
  }, []);
로직을 설명하면,
UseEffect로 서버와 통신을 진행한다. (fetch 랑 axios 사용 가능 => 문법은 조금 다르다.)
응답을 받으면 json()형태로 받고 ("2시:점심식사","5시:저녁식사","??" 이게 json 형태로 전송 되어서),
message리스트에 위의 값을 추가한다.
        <ul>
          {message.map((text, index) => <li key={index}>{text}</li>)}
        </ul>
위 코드를 제외한 나머지 코드는 리액트에서 기본으로 제공하는 코드이다.
message에 있는 값들을 map함수를 이용해 꺼내준다.
물론 반복문을 사용할 수도 있겠지만 map과 key를 사용하는것이 속도가 더 빠르고 편리하다.
map을 간단히 설명하면,
각 배열의 요소를 돌면서 인자로 전달된 함수를 사용하여 처리 된 새로운 결과를 새로운 배열에 담아 반환하는 함수이다.
즉, message라는 배열에 text 값을 index의 키에 따라 출력하는것으로 보면 된다.
더 자세한 map함수 설명은 https://ellen92.tistory.com/52 사이트를 참고하자.
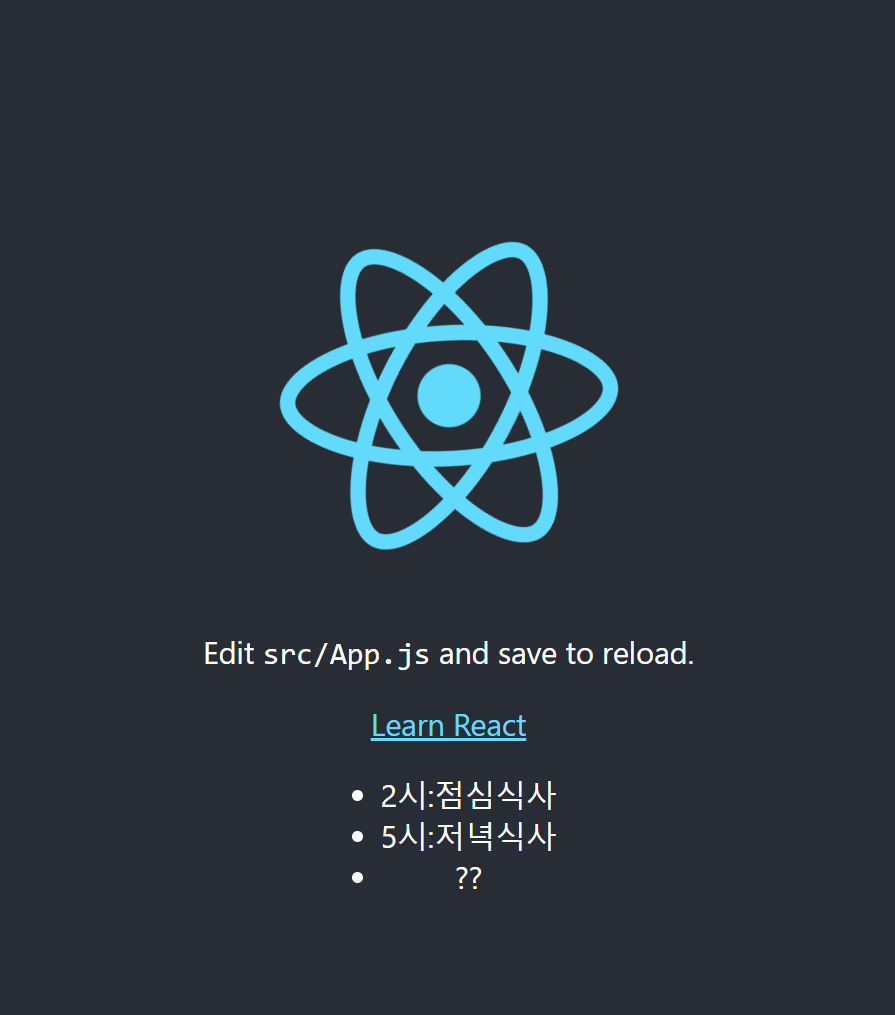
최종 결과
'스프링부트' 카테고리의 다른 글
| [스프링부트] JWT(Json Web Token) - 코드 (0) | 2022.09.06 |
|---|---|
| [스프링 부트] JWT(Json Web Token)란? (0) | 2022.09.05 |
| [스프링 부트] 동일한 name으로 controller로 값 받아오기 (0) | 2022.08.27 |
| [스프링부트] 결제시스템 도입 (0) | 2022.08.18 |
| [스프링부트] Query 사용 (JPA) (0) | 2022.08.11 |


